Showing posts with label DIY. Show all posts

Sunday, June 08, 2014

My Pin Up Look

I love themed parties. This was my first time dressing up for a Pin Up party. I immediately started searching for inspiration on Pinterest. Luckily, I didn't have to buy one thing! I took two sets of photos to show you how you can pull off a casual pin up look, along with a dressier pin up look. 

My Casual Pin Up Look.


 When I heard about the theme of the party being Pin Up, I knew exactly what piece I was going to work around. These shorts scream the 40's. Since I knew they were really high waisted, I knew this corset crop top would work perfectly. 

For a casual look, I knew the mid top converses would be the perfect choice. I love these shoes. They go so well with so many different looks. I also choose this jacket for its jersey like stripes on one arm. That reminded me a little bit more of a 50's look but I threw that in there to dress it down a bit.

Accessorizing.

For jewelry, I kept it very simple. Pearls are a very popular choice in that era, so I went for a simple look with the pearl bracelets and big Gatsby like earrings. I bought this clutch a few years ago because it reminded me of a vintage style bag. Its red and vintage-like, obviously my immediate choice.

Your make up is important to maintain your pin up look. Red lipstick was a must. I made sure to keep my blush really high on my cheek bones to keep the look more 40's. For my eyes, I didn't use any eye shadow and but put tons of mascara and eye liner inside both lids to keep the eyes basic but sexy. I added some tutorials below. 

Extra Tip: I like putting a little mascara on your bottom lashes to give your eyes more spark. 

My hair was the fun part. And it didn't take me long to do. When I curled my hair, I made sure to grab smaller strands than I usually do, and made sure I curled all the way up to the scalp. My hair usually falls a little, so curling my hair from the scalp down, gives my hair more volume since teasing my hair in humid weather isn't a good idea. Before putting on my headband, I pinned my bangs back giving it a little poof. Hairspray your bangs and curls like crazy, add the headband, and then you can take off your pins and hide your remaining hair under your headband, and voila.

Extra Tip: If your hair falls easily, buy a strong hairspray and spray heavily after every layer. Also make sure your leaving your iron long enough. The iron I use is safe and I've never had any issues with burning off my hair, and I've used it on many hair types.

Party Time.


For shoes, I chose to go with the pointy heel. But it was a hard choice between my Zara heels, my Dejavu's, or the pointed toe. In cases like this, I send a mass text to my closest fashionista's and they take a vote. The pointed heel won.


Put Together This Look.

Outfit Details:
Marciano Corset Crop Top, Similar
Gap Jersey Cardigan, Similar

Accessories:
Forever 21 Clutch, Similar
Ray Ban Sunwear, Aviators
Pearl Bracelets, Similar
Nordstrom Earrings, Similar 

Shoes:
Converses, Mid Tops
Just Fab Heels, Pointed Toe

Make Up Tips:
Mac Lipwear, Ruby Woo Matte

Hair:


XOXO


Friday, April 25, 2014

With Wendy

Lately I've been spending so much money shopping. And since I'm starting summer break next week, I decided to start a few projects and start making my own pieces. I've been looking up videos on how to do little things here and there and came across this video by With Wendy. I was so amazed at that she made those pieces by herself and how many different pieces she can show you how to make, step by step. And I absolutely adored her. She is fun, spunky, and really cute. I think you will love her just as much as I do. 

Here is a video I found for a pair of Summer Shorts. This is exactly the project I wanted to start, so I am so excited I found her page. By the end of the summer, I will be a pro and have a bunch of different style shorts. Who knows, maybe I can start my own line.

Thanks Wendy!


If you would like to find her on other social medias just look for @withwendy 
To see her YouTube channel, click here


Thursday, January 30, 2014

Printable Menus

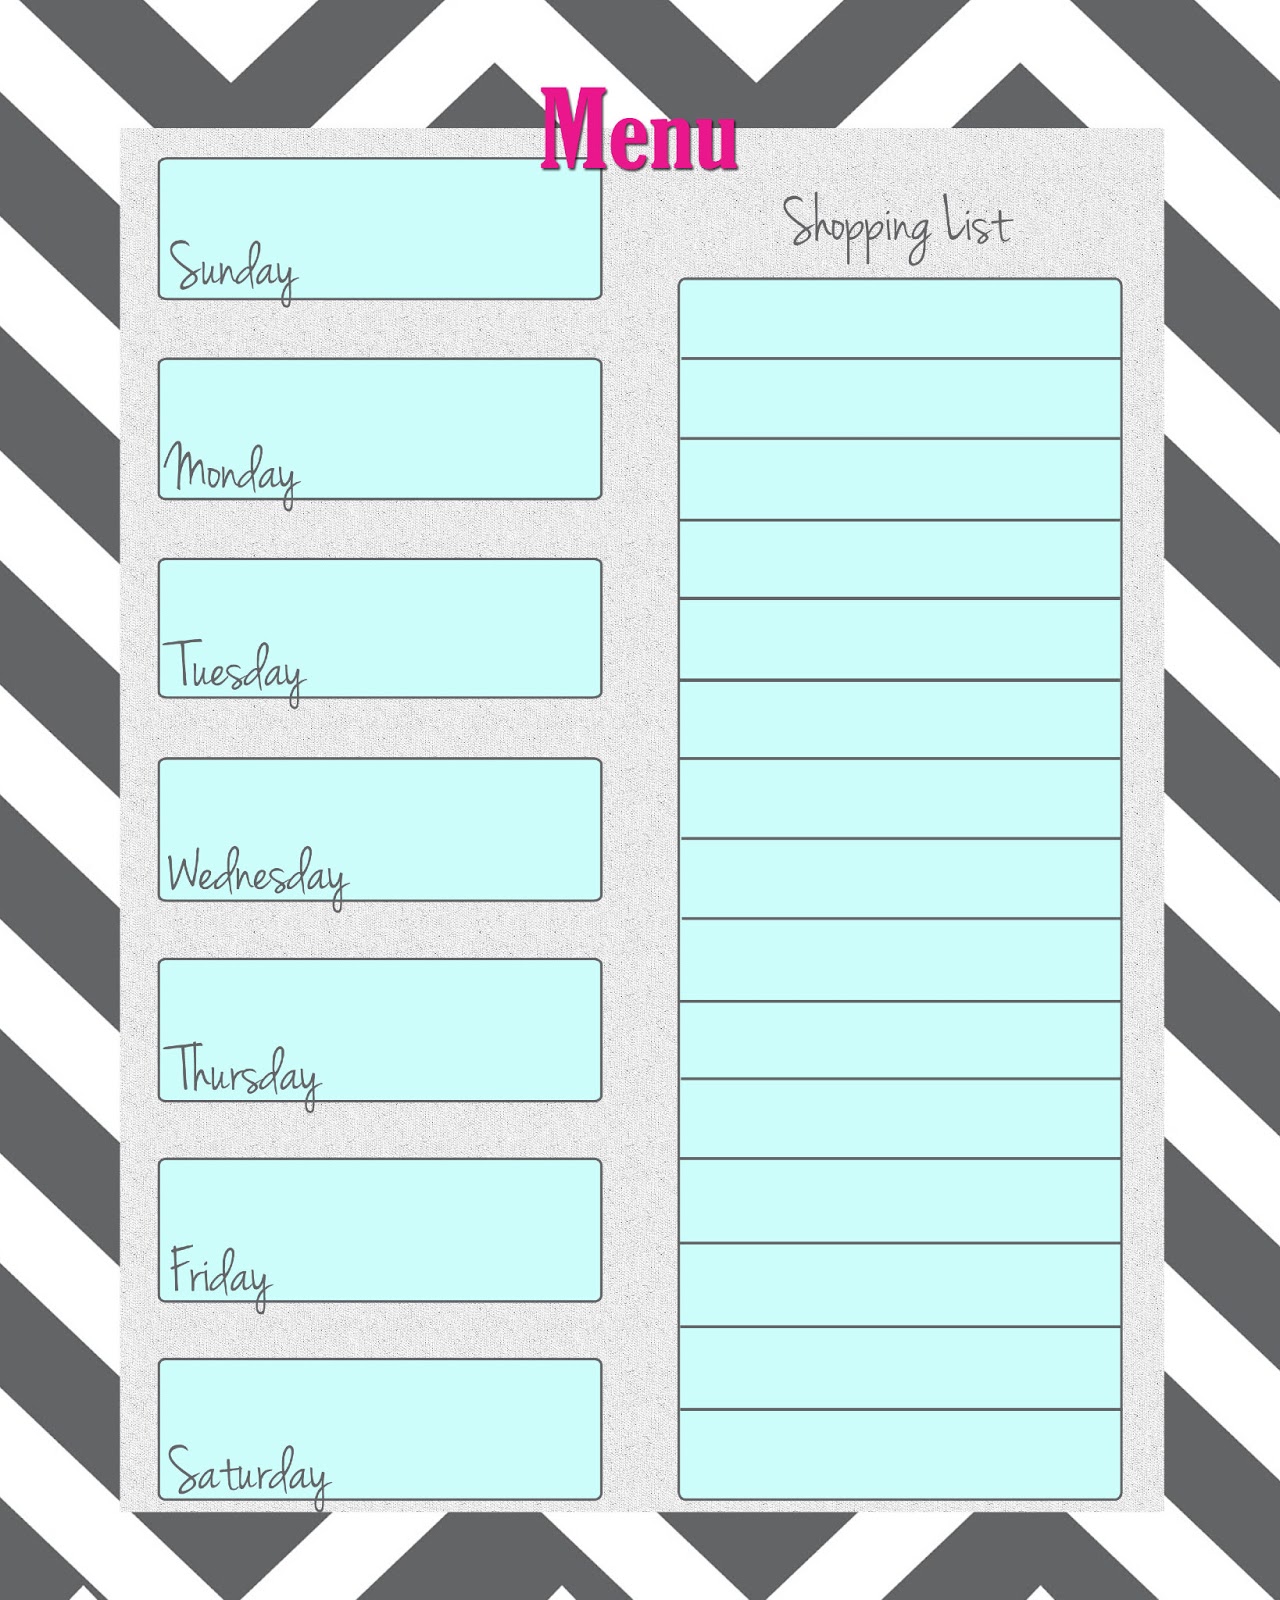
I am currently looking for a new place and whenever I start a project, I go to the extreme. I've been looking for cute DIY projects I can use to save money redecorating my new home. I (try to) follow this diet known as Paleo. Its a diet avoiding processed foods, sugars, and grains. It sounds boring but it makes arranging meals challenging and we are always looking for new ways to mix things up. Since I am a neat freak, when I came across these free printable menus from Cupcake Diaries, I freaked out. How cute are they!? I can't wait to put them in a cute frame and place it in my new kitchen!


To download these printables you can either save the picture on your computer and print them in the size you want or you can scroll down to download the PDF for the original sizes. 


Download them here as a PDF (original sizes)

Thursday, January 23, 2014

Budget Planner


As I've mentioned before, my goal this year is to save money. I work in the accounting department for my company and I am currently studying accounting so budgeting is my life. I made this cute planner for my blog to set up my goals and ideas on how to make this page successful. But since I am currently budgeting my money this year, I decided to throw in a finance section to my planner and found these really cute printables from Pinch a Little Save a Little. I love everything these pages have to offer. I can set short term goals all the way up to long term ones and recognize the difference between my wants and needs. 

I highly suggest downloading these and putting them where ever you can to make it easier for you to budget. I put a copy of my daily expense tracker in my desk, my planner, and my binders for school. 


Thursday, May 09, 2013

How to Make Pillow Cases

I am always redecorating or rearranging things at home. I get bored quickly and when my house looks different, I feel like a new person. So I am changing the color scheme in my living room and updating a few things. One of which are my new pillows! I was looking online for some chevron pillows when I came across yellow ones. I immediately knew what color I wanted to bring out. I shopped everywhere looking for a good deal on new pillows but you could easily spend $20 - $30 on just 2 pillows! So I decided to make my own pillow cases. I found this website (FABRIC) that sold my yellow chevron fabric for $7! It was on sale that day but they have amazing deals. So I am going to show you step by step how to make pillows and save a ton of money updating your space!

TOOLS 


Step One
Place down the fabric on the floor with the pretty part facing in. Make sure you fold it so you measure the front and back of the pillow. Then you want to place the pillow over the fabric and measure the pillow with the measuring tape. If you do not have a measuring tape and your using a flat ruler, make sure you cut at least 1 inch of extra fabric per side. Mark on the fabric with a pencil the end points and then use your meter stick to draw a straight line tracing around the pillow. Now you can cut both pieces of fabric. If you have fabric clips it holds the fabric together and makes it easier for you to cut.


Step Two
So now with the fabric (pretty side still facing in) sew 3 sides. Preferably with a sewing machine for faster results. Here is a video with instructions for a sewing machine. After you sew the 3 sides pull the pillow case inside out and put the pillow inside. Now fold in the fabric and put a safety pin in the middle and end farthest from the machine to make closing up the pillow easier. Without the safety pins it makes it extremely difficult to hold the pillow straight while holding the fabric in place. The pins help secure your folds but go slowly so you have time to take the pins out. 


Final Product
It only took me about an hour to make 5 pillows. And I only spent $25 for my fabric and shipping. I saved about $30 on pillows and I made my apartment modern and bright. My next project is this old dresser my mother in law gave me. I'm painting it yellow this weekend and I can't wait to show you guys. I am also going to film the project. 


Related Posts Plugin for WordPress, Blogger...